
How to Fit a Bath: Easy Steps for a Perfect Installation
Installing a bath correctly is crucial not only for the functionality of your bathroom but also for the overall aesthetic appeal. A well-installed bath can enhance the space, making it both practical and visually pleasing.
Whether you're replacing an old bath or installing a new one in a remodelled bathroom, getting the installation right is key to ensuring it performs well and complements your bathroom's design.
While fitting a bath yourself is possible, it's important to have the right tools and knowledge. DIY can be a cost-effective option if you're comfortable with plumbing and installations, but if you're unsure, it's always wise to consult a professional.
Plumb Factory provides premium baths and bathroom fixtures, and we're here to offer expert advice to help guide you through the installation process.
How to Fit a New Bath: The Basics
Preparing for Bath Installation
Before you start installing your new bath, it’s essential to prepare the space and ensure that everything is ready for a smooth installation. The first step is to measure the space where the bath will go, ensuring the new bath fits comfortably in the designated area.
You’ll also need to check that the plumbing connections align with the new bath’s waste, overflow, and water supply systems.
Once you've measured everything, clear the installation area to ensure easy access to the bath and plumbing. Gather the necessary tools to ensure you're ready for the job. Common tools required for a bath installation include wrenches, a spirit level, sealant, silicone, and pipe tape.
Step 1: Remove the Old Bath
Drainage and Disconnecting Plumbing
The first step in fitting a new bath is removing the old one. Start by draining any remaining water from the pipes and disconnecting the plumbing connections. Make sure the water supply is turned off to avoid any accidents.
After disconnecting, carefully remove the old bath. Take care not to damage surrounding tiles or fixtures during this process.
It's important to inspect the space where the old bath was and check for any water damage that might need attention before proceeding.

Step 2: Preparing the Space
Inspect and Prepare the Installation Area
After removing the old bath, take the time to clean and prep the area for the new bath. It's essential to ensure that the floor is level and solid enough to support the new bath. If you notice any water damage in the surrounding area, now is the time to address it.
Dry fit the new bath before you start the actual installation to ensure everything aligns correctly. This will help avoid any surprises and allow for adjustments if necessary.
Step 3: Installing the Bath
Positioning the Bath and Securing It
Now, it’s time to position your new bath. Place it into the designated area and make sure the plumbing connections align correctly. Once it’s positioned, secure the bath in place using adjustable feet or mounting hardware, making sure it’s level.
Ensuring the bath is level is essential to prevent any drainage issues later on.
If your bath comes with mounting brackets, make sure they are securely fastened to the wall and floor. This will ensure the bath stays in place and doesn’t shift over time.

Step 4: Connecting the Plumbing
Connecting the Drain, Waste, and Water Supply
The next step is to connect the waste pipe, drain plug, and overflow system. Use pipe tape and seals to create watertight connections. When connecting the water supply, check the fittings to ensure they align correctly with the bath’s water inlets. Once connected, test the system by turning on the water and checking for leaks around all the connections.
It’s vital to ensure that the drainage system is properly connected, as poor drainage can cause water to back up and cause damage in the future.

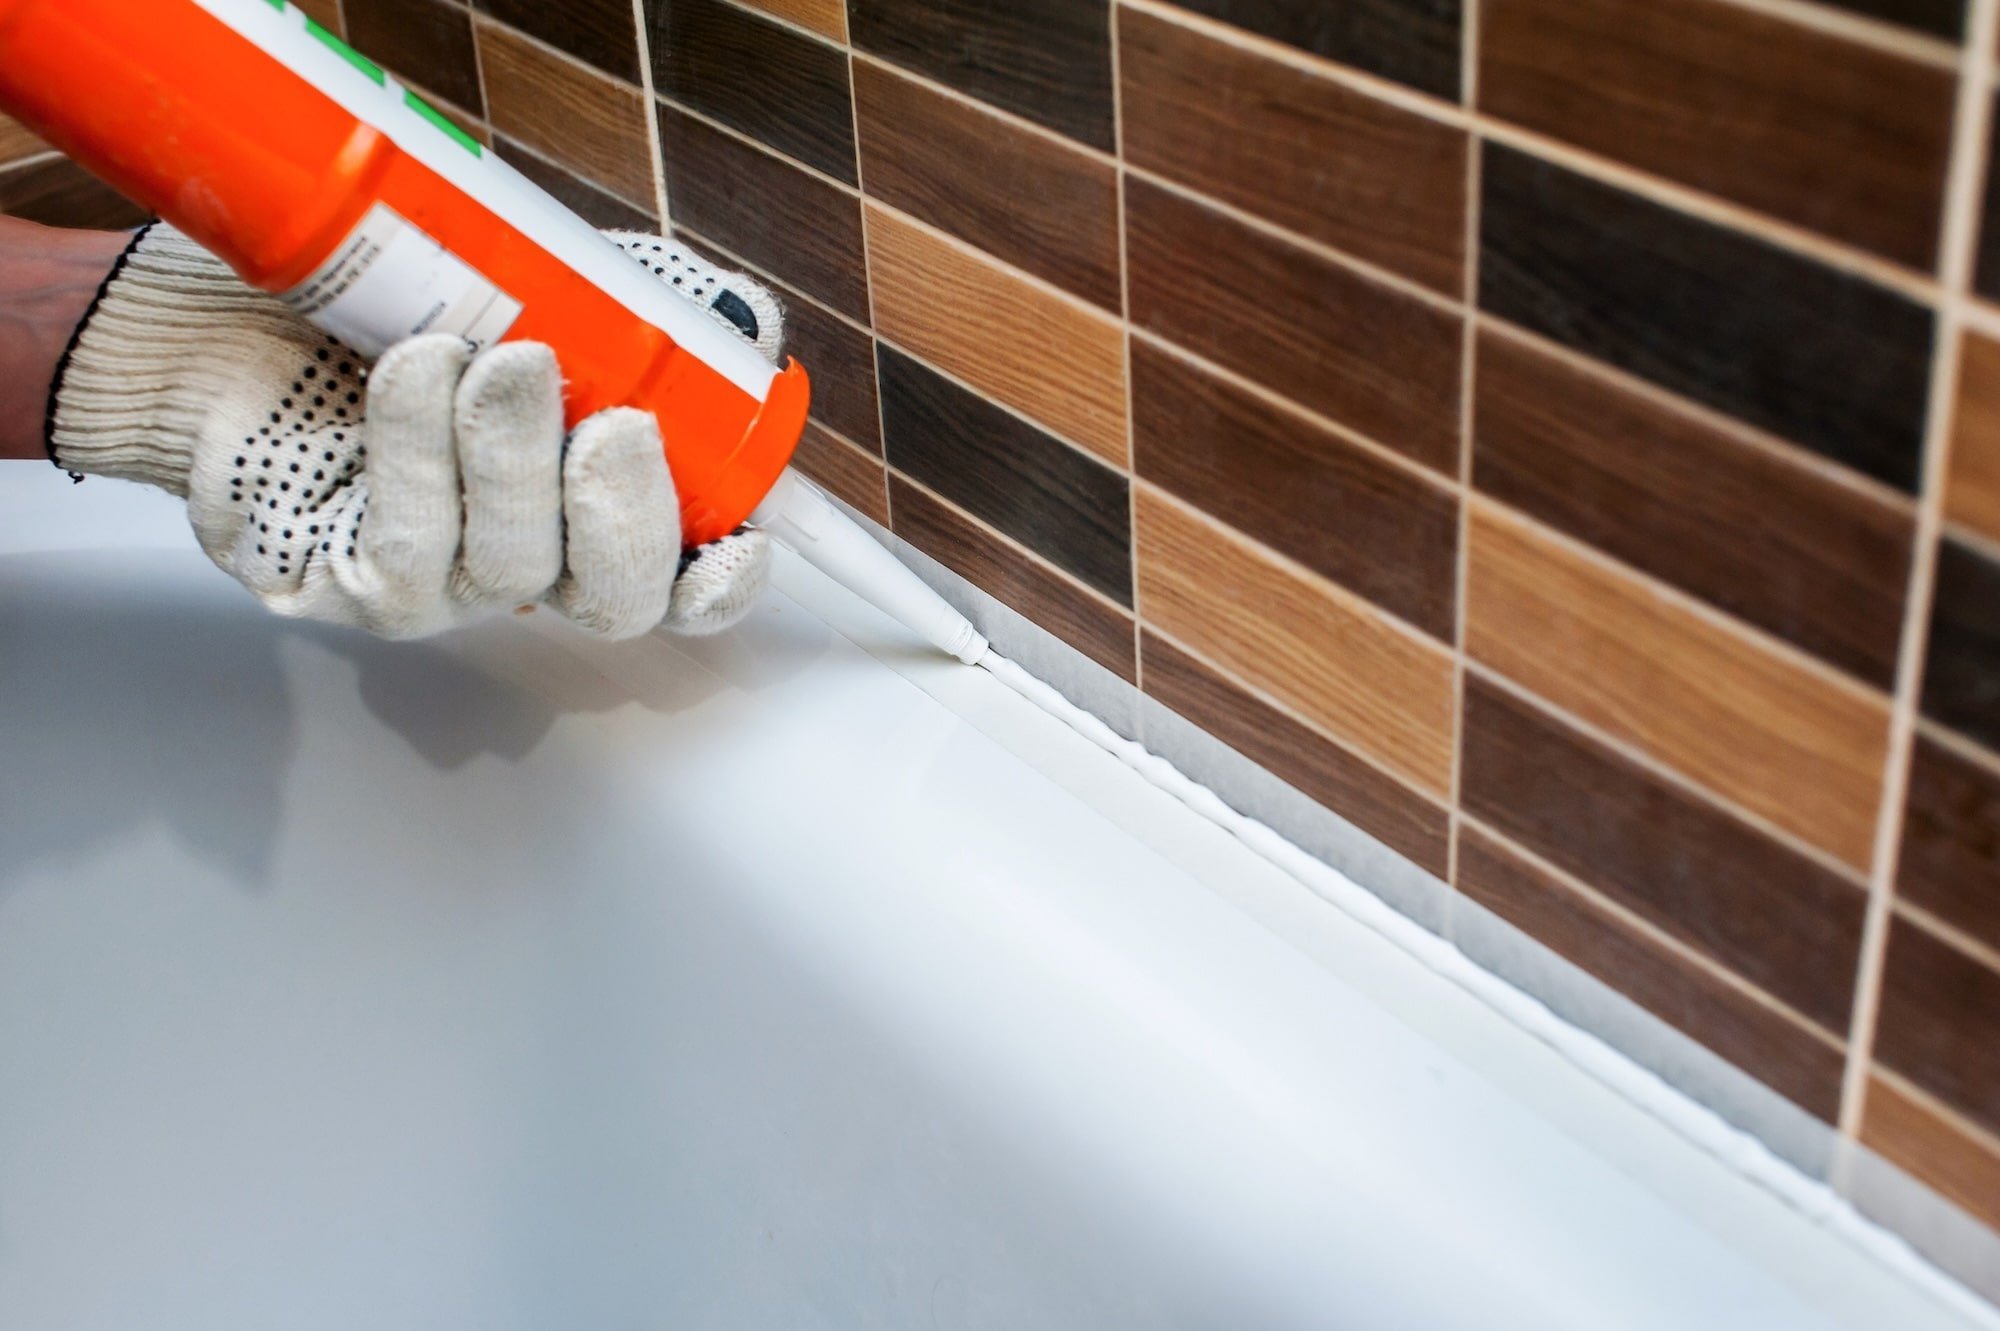
Step 5: Sealing and Finishing Touches
Applying Sealant and Finishing the Edges
Once the bath is securely in place and the plumbing is connected, apply a silicone sealant around the edges where the bath meets the wall. This helps prevent water from leaking behind the bath, ensuring a watertight seal.
You can also apply sealant along the overflow and drain areas for added protection.
The finishing touches include tiling the area around the bath and adding trim or any other decorative elements to complete the look.
Take care to ensure the tiles and finishes match your bathroom’s design for a seamless, professional appearance.
How Long Does It Take to Fit a Bath?
The time it takes to install a bath can vary depending on several factors. For a straightforward installation, you can typically expect it to take between 3 to 5 hours.
This includes removing the old bath, preparing the space, positioning the new bath, connecting the plumbing, and sealing everything properly.
If the installation involves more complex tasks, such as relocating plumbing or installing custom features like a shower attachment, the process may take longer.
It’s also important to consider that DIY installations can sometimes take longer than professional ones, especially if you're not familiar with the process.
Hiring a professional can speed up the job significantly and help avoid costly mistakes, ensuring that the bath is installed correctly and efficiently.
How Much Does it Cost to Fit a Bath?
The cost of fitting a bath depends on several key factors, including the type of bath you’re installing, the materials chosen, and the complexity of the plumbing work required.
For example, installing a standard bathtub may be less expensive than installing a freestanding bath with custom plumbing or shower attachments. Additionally, if your current plumbing setup requires significant changes or upgrades, the cost will increase.
If you decide to install the bath yourself, you can save on labor costs, but be sure to factor in the cost of any necessary tools and materials. On the other hand, professional installation typically comes with a higher upfront cost, but it can save you time and reduce the risk of errors.
It’s also important to consider any additional upgrades, such as custom fittings or shower features, which can increase the overall cost.
For a general ballpark figure, DIY installations may cost between £100 and £300, depending on the complexity, while professional installation can range from £300 to £500 or more. Of course, the final price will vary depending on the specifics of your project.
Tips for a Successful Bath Installation
Ensuring a Smooth Installation
Installing a bath can be a straightforward task if you approach it with care and attention to detail. The first step is to ensure that the plumbing connections are compatible with your new bath.
Double-check the water supply and drain connections to avoid any surprises during installation. It’s also crucial to have the right tools on hand, such as wrenches, a spirit level, and silicone sealant. These tools will help you position and secure the bath correctly.
One of the most important tips for a successful bath installation is to take your time. Rushing through the process can lead to mistakes, such as improperly sealed connections or an uneven bath, which can result in leaks or drainage issues.
After securing the bath in place, always test it thoroughly. Run the water, check for leaks, and ensure proper drainage. This step will save you from potential problems down the road and ensure a seamless installation.
Installing a Bath FAQs
-
The best way to install a bath starts with preparing the area and ensuring the plumbing is compatible. Clear the space, check your water supply and drainage connections, and make sure your bath is properly aligned.
Secure the bath in place and check for level positioning. Finally, seal around the edges with silicone to prevent leaks and ensure that all connections are tight.
-
While it’s possible to install a bath yourself, it's important to assess your experience and the complexity of the installation. A DIY installation can save on labor costs, but it requires careful planning, the right tools, and knowledge of plumbing.
If you’re not confident or the installation involves complicated plumbing or structural work, it’s always a good idea to hire a professional. Plumbers can help ensure the job is done quickly and efficiently, and avoid costly mistakes.
-
The cost of replacing a bath can vary depending on factors such as the type of bath, the materials used, and the complexity of the installation. On average, a DIY installation can cost between £100 and £300, while hiring a professional plumber can range from £300 to £500.
If you’re installing a more luxurious or custom bath, the price may increase. It’s important to also factor in any additional costs for materials like plumbing fixtures, tiles, and shower attachments.
-
Installing a bath with a shower attachment requires additional plumbing work. You’ll need to connect a showerhead to the bath, which involves installing a shower valve and diverter. Depending on your setup, you may also need a shower screen or curtain.
Make sure to carefully check all plumbing connections to ensure everything is watertight and sealed properly.
-
If your bath installation is leaking, start by checking the plumbing connections to ensure that they’re properly sealed. Look for leaks around the drain, overflow, and faucet connections.
If you find any issues, tighten the connections and reapply sealant where necessary. If the leak persists, you may need to remove the bath and check for misaligned parts or faulty seals. In this case, it may be best to consult a professional plumber to resolve the issue.
Shop our range of baths at Plumb Factory
At Plumb Factory, we offer a premium selection of baths, including freestanding models, slipper baths, and modern shower baths.
Our expert team is here to provide you with personalised recommendations based on your bathroom’s size, style, and needs. Visit our showroom to explore our collection or get in touch with us for expert bathroom design advice and assistance with your bath installation.